
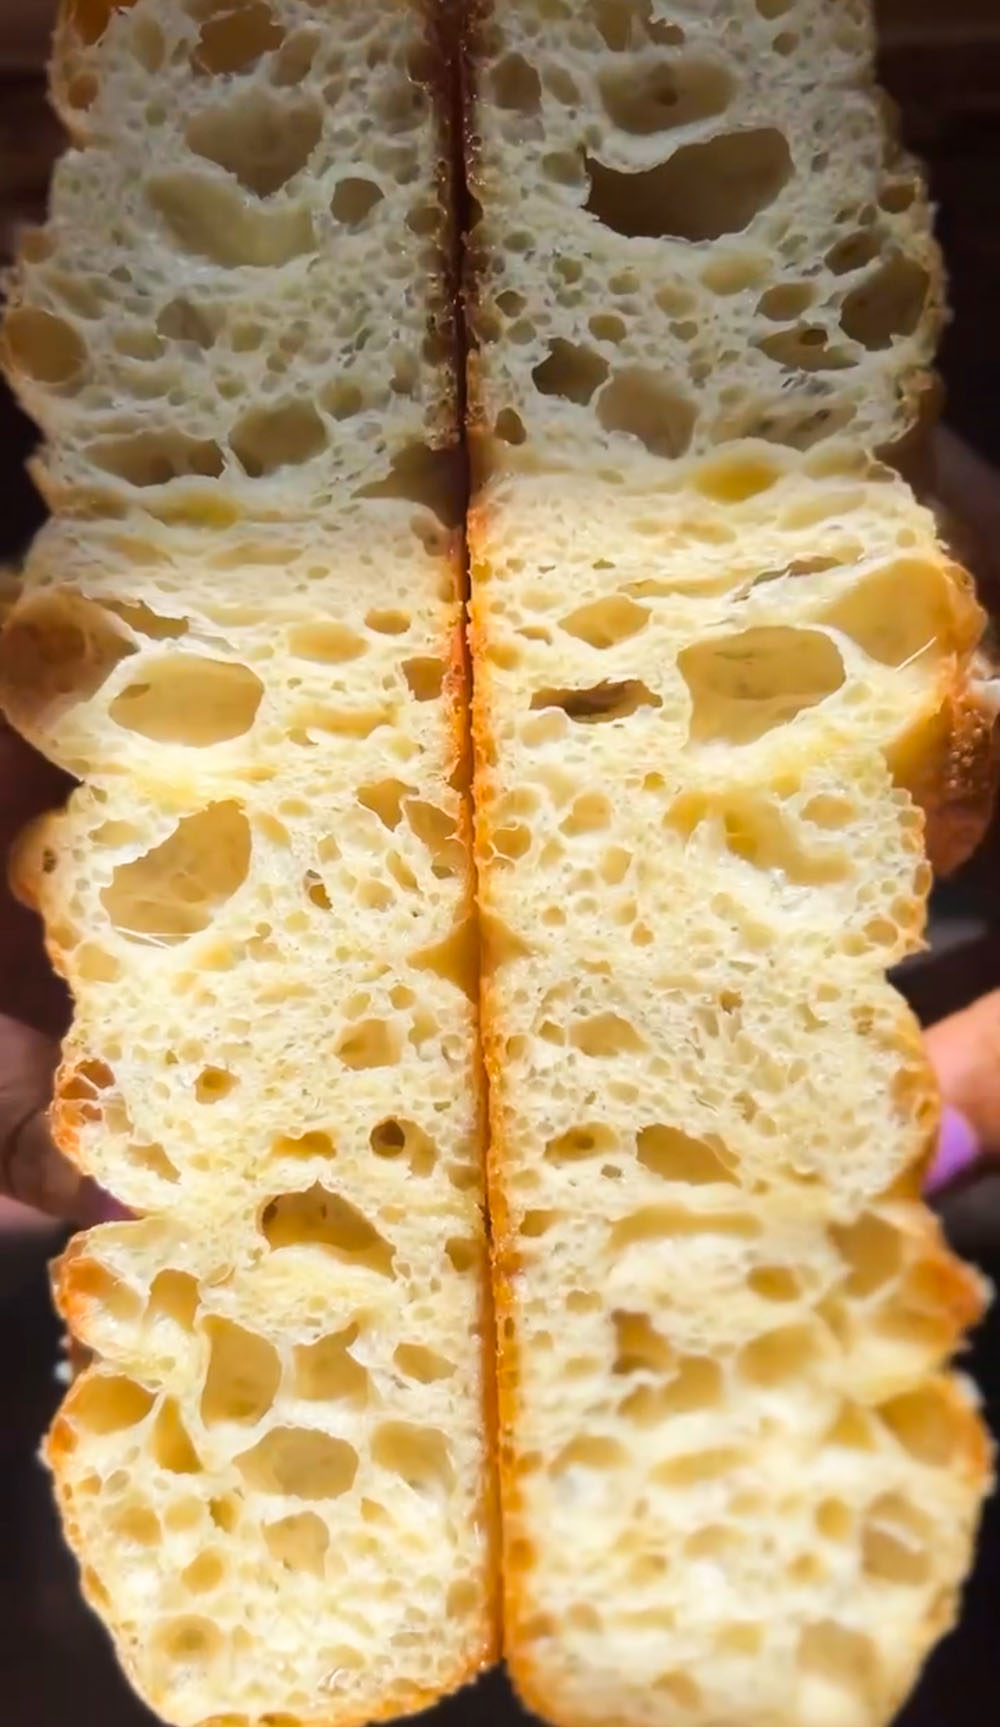
If you thought it would take days to make soft, squishy delicious focaccia, you were wrong. Let me show you how to make this incredibly easy focaccia that takes about 3 hours start to finish. You get a big slab of soft squishy big-holed bread with a perfectly fried bottom and tender crumb perfect for sandwiches, dipping, or whatever your carby-heart desires. This same day focaccia recipe will be a keeper and a go-to!
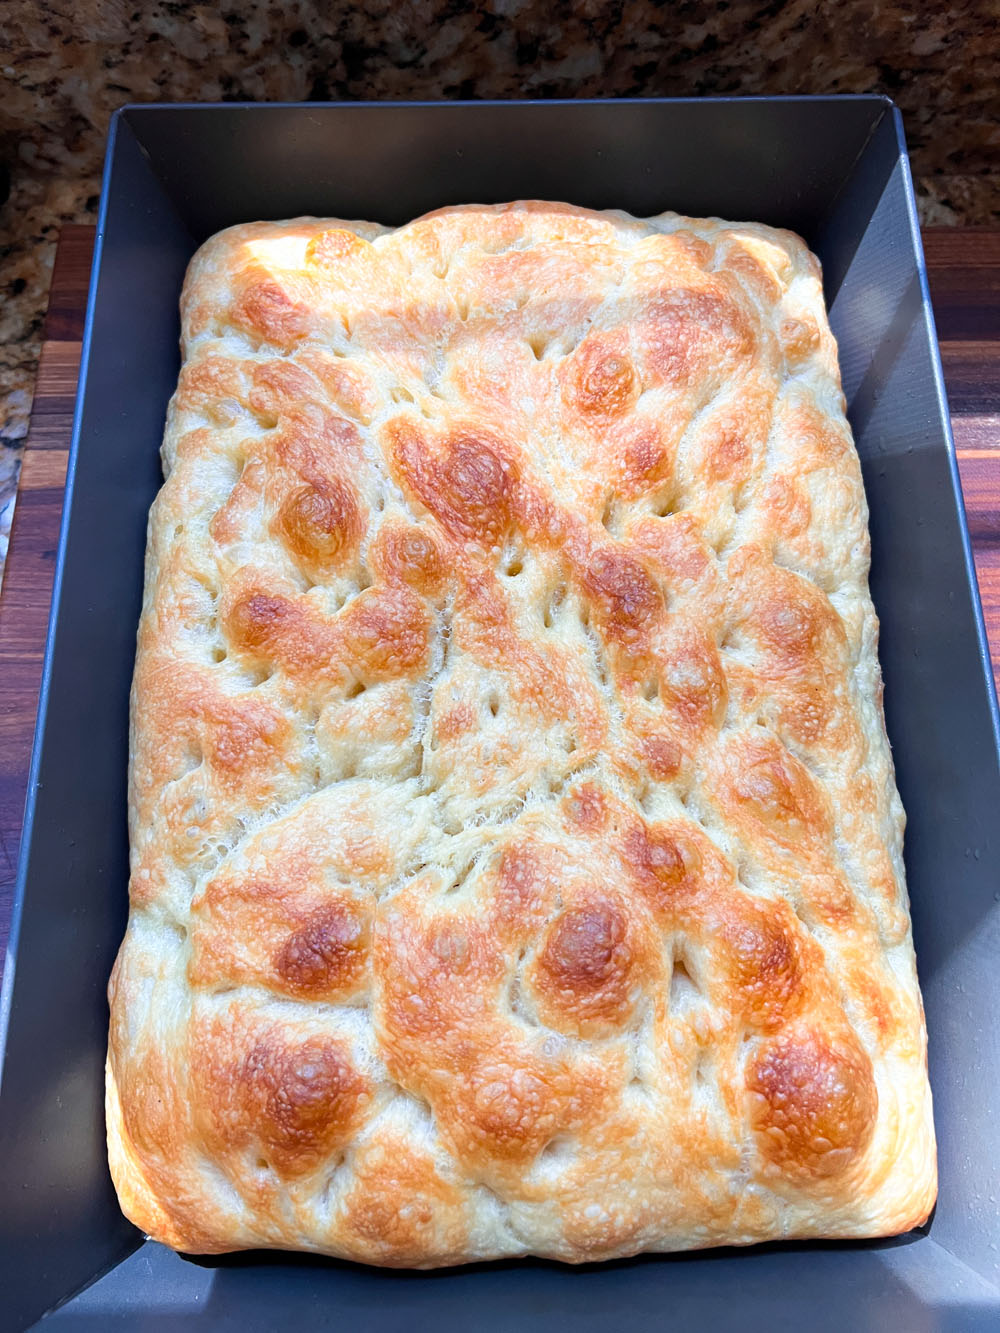
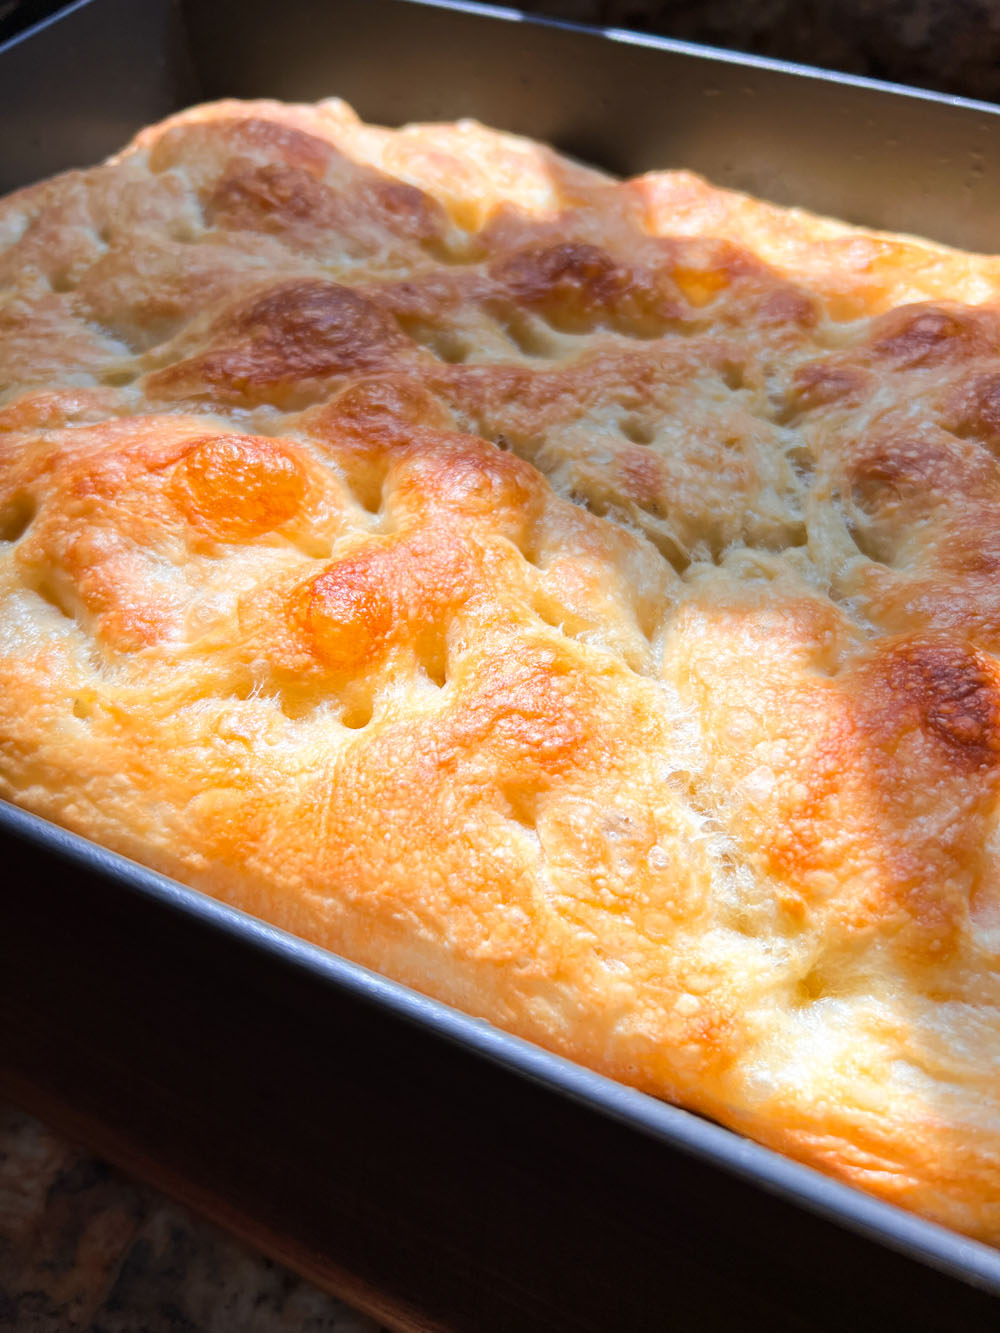
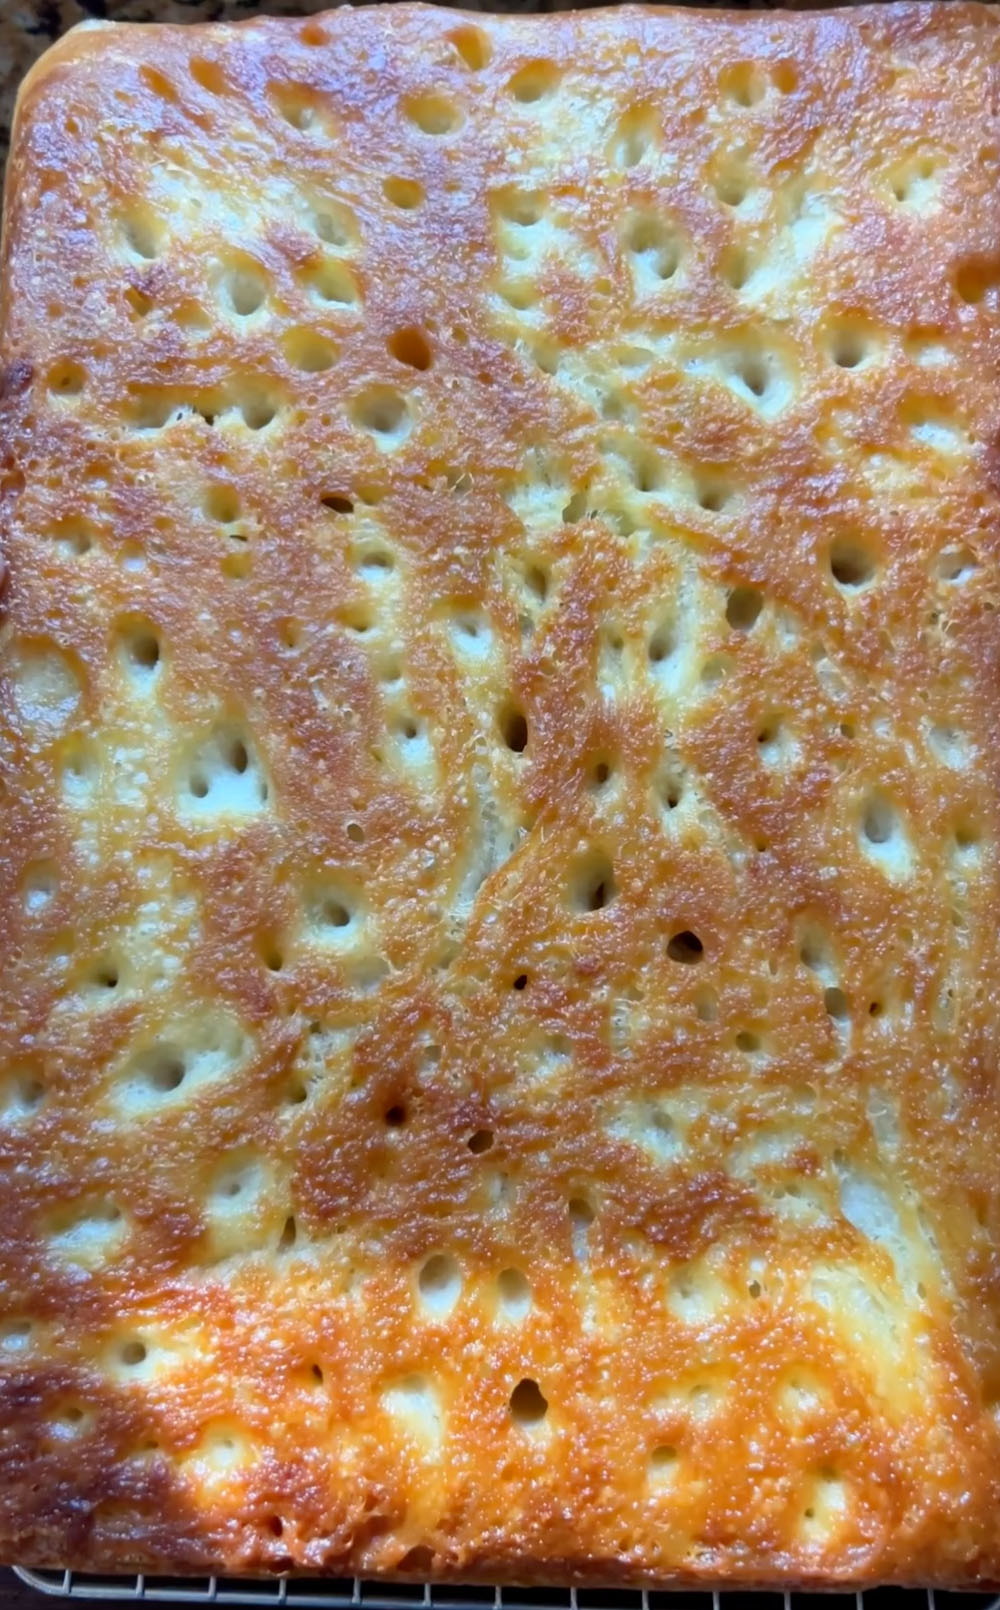
How to make 3-hour focaccia
I cannot stress how easy this bread is to make. When you make it for the very first time, you’ll likely take your time to make sure everything comes out just right. But after that, you’ll realize how fast and easy it is, and the next time you make it, you’ll breeze through it.
You don’t need a stand-mixer for this recipe. You don’t need to let the dough ferment overnight. Everything takes place in a large bowl, including the kneading. We let the dough rest and proof in a turned-off oven with just the light on. That little oven light creates the perfect proofing spot for just about any dough. I use it religiously because I don’t keep my house warm lol. It’s about 69-72 degrees F in my house at all tmes, period.
I’ve tried no-knead recipes for focaccia and I just can’t stand the crumb. It’s not as soft and squishy and I want it, but that’s completely subjective.
The Best Flour for Same-day Focaccia
I use King Arthur Bread Flour. It contains 12.7% protein, and because it’s so widely-available, you should have no problem finding it. Any brand with the same protein content will work. If you have a bread flour with more protein, you’ll need to increase the amount of water used. For example, I also have a 14% high-gluten flour on hand, and with this recipe it will take anywhere from 485 to 515 grams of water to get the dough just right. If you use all-purpose or anything with less than 12.7% protein, you’ll need to decrease the amount of water. I would start with 355 grams and go from there.
Technically, you can use all-purpose flour for this. You’ll need significantly less water, but the end result (to me) isn’t as great. It’s good, but not great. AP flour will give you “C-student” focaccia, whereas bread flour will give you “straight A student”.
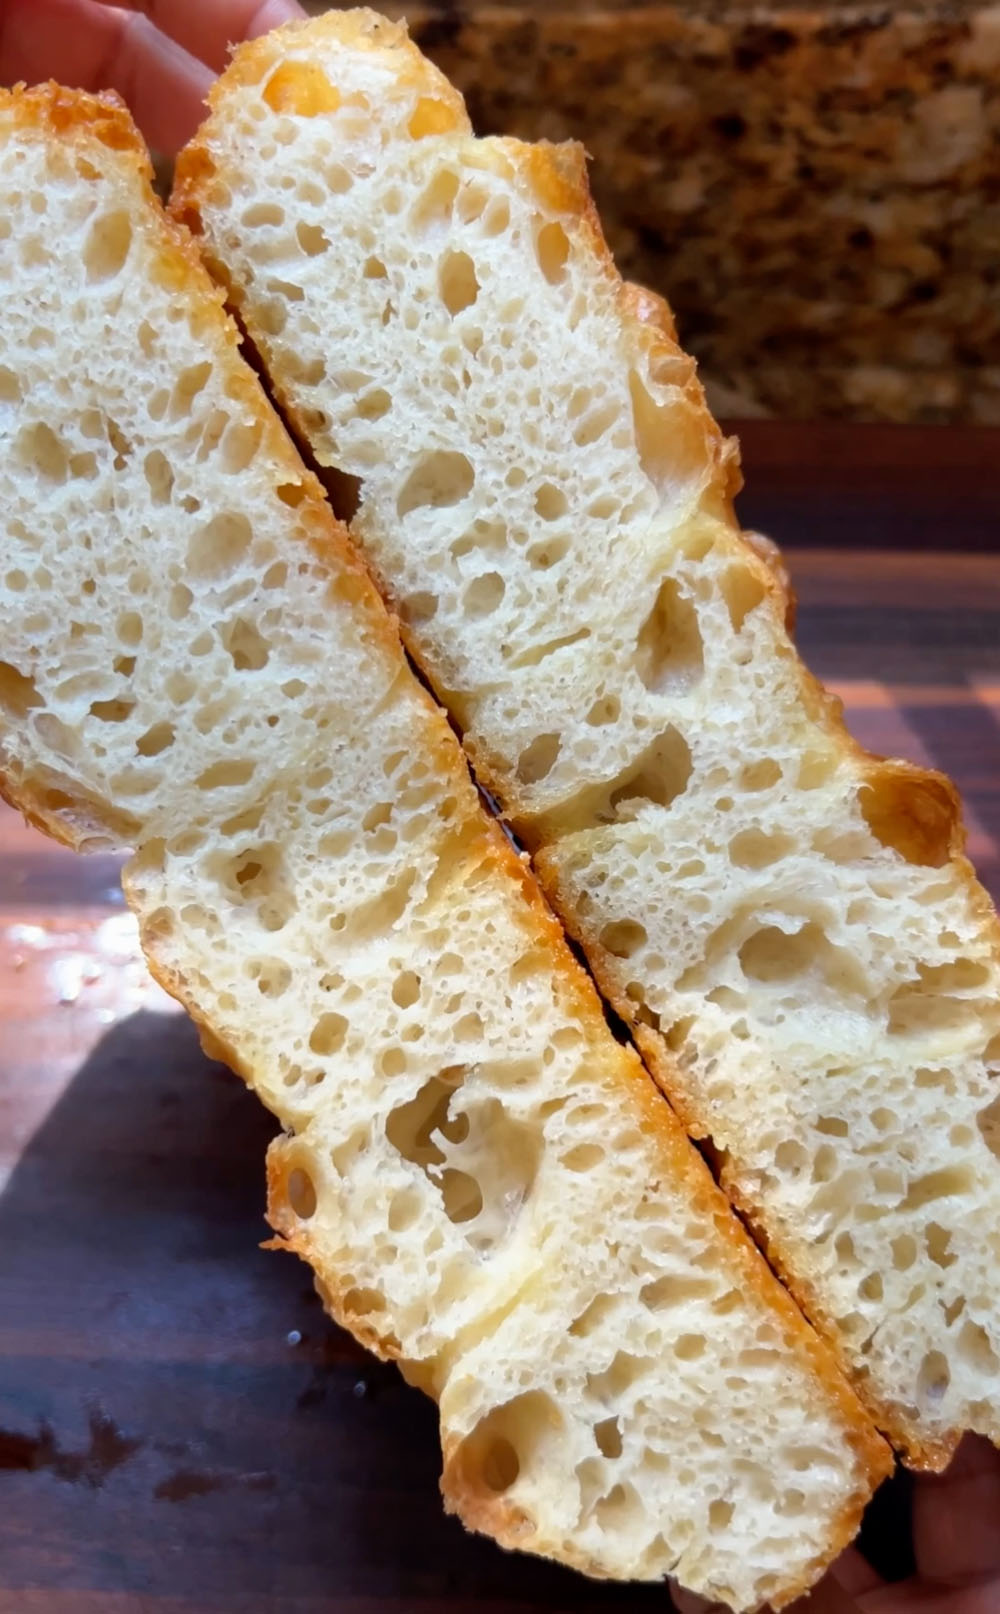
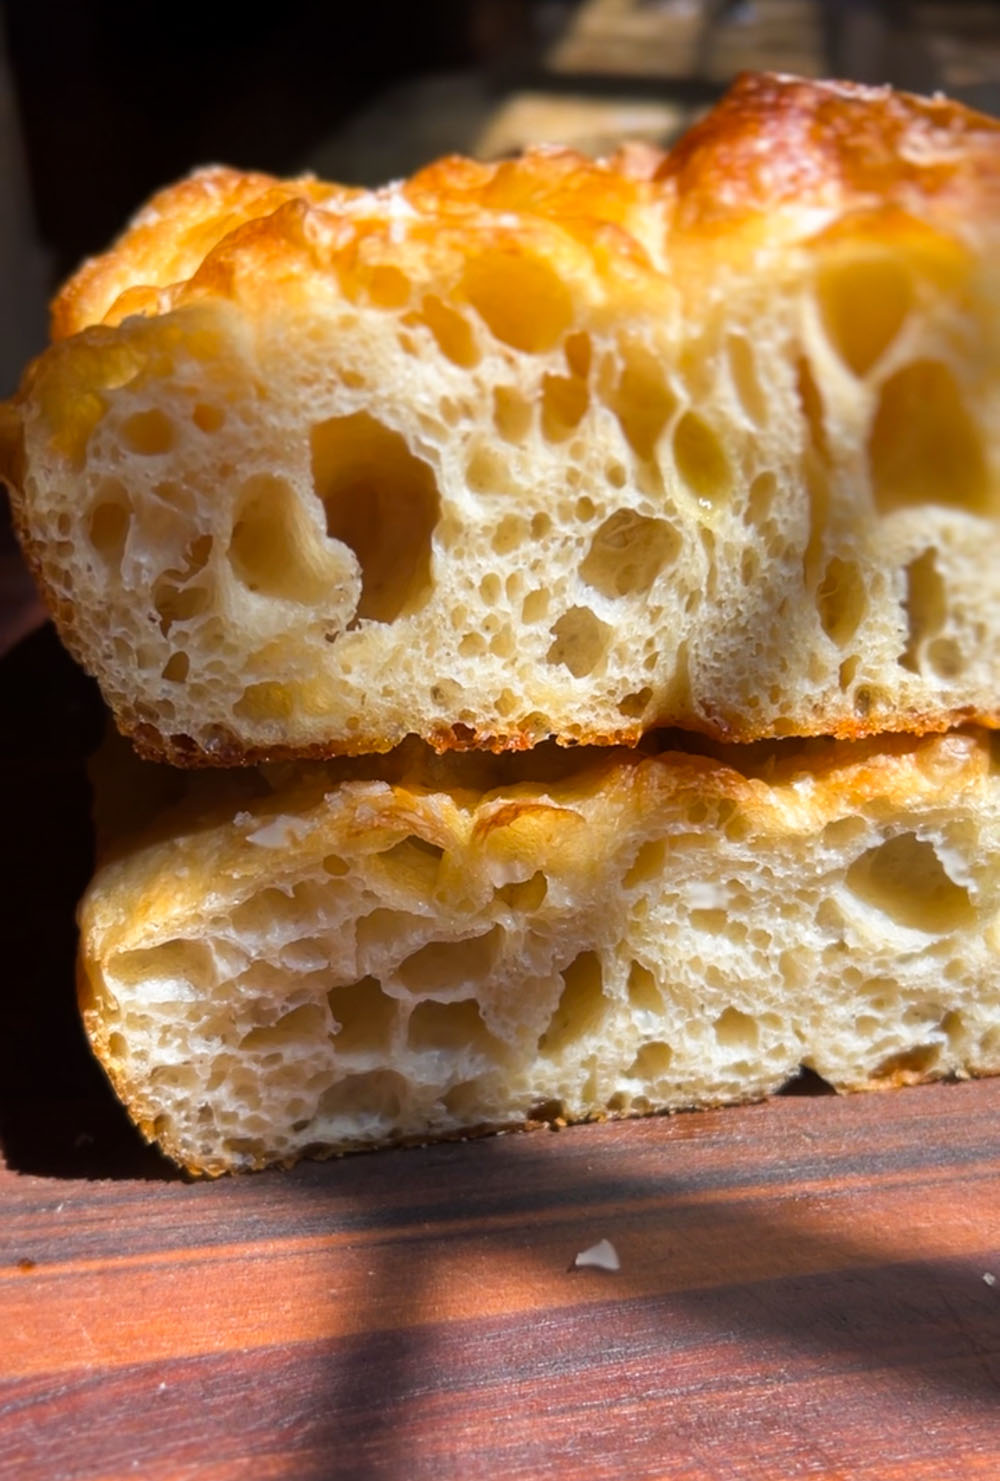
Equipment needed to make 3-hour focaccia
The type of baking dish you use does matter. You’ll want to use something that conducts heat as evenly as possible. Preferably something with a slick, almost nonstick surface so the dough doesn’t stick as it bakes. Cast-iron, or a coated-aluminum dish work great. I’ve used a metal cake pan before, but there was some sticking. If you can, avoid glass. You’ll risk it sticking like hell.
If your dish is known sticking, layer it with parchment paper before greasing. You may or may not get the ultimate fried bottom crust, but it will still be delicious. You have to work with what you have.
- A standard 9×13 high-sided (3-inches) baking dish work’s great for this amount of dough. Include parchment paper if your baking sheet is prone to sticking. I use a 10×14″ Lloyd pizza pan, but this 9×13 cake pan from USA Pans is also a dream to use. You can use any pan you have, as long as it’s properly prepared. This is a thicker focaccia, so you’ll need something with higher sides.
- If you want a flatter focaccia, you can absolutely use a rimmed half-sheet pan and just let the dough proof in a free-form kinda way. It won’t reach the full bottom of the pan, but if flatter is what you want, then that’s fine.
If this is your first time, it may take about 20 minutes of prep-time. The more you do this, the faster you’ll become. The total rest time for the dough is 2 hours and 5 minutes. The bake time is about 20 minutes. That is how this can be categorized as a 3-hour focaccia.
- Kitchen scale for accuracy. I use a standard kitchen scale, plus a jewelry-scale for even further accuracy when measuring delicate ingredients such as yeast.
- Dough whisk or regular whisk to combine dry ingredients. The dough whisk is one of those tools that once you use, you can’t go back. But you do not absolutely need one to get this bread made.
- Rubber spatula, to help scrape down the sides of the bowl. This dough rises big time, and it’s wet, jiggly, and sticky. A rubber spatula is the best way to keep it all contained when it’s time to fold and flip.
- Large bowl at least 3 1/2 quarts. This is the minimum bowl size needed for this recipe. If you have anything larger, that’s also great.
- Flexible spatula to help remove the focaccia from the baking dish.
- Wire rack for cooling. The bottom of the focaccia “fries” as it bakes, and we need proper aeration as it cools so that the bottom doesn’t get soggy.
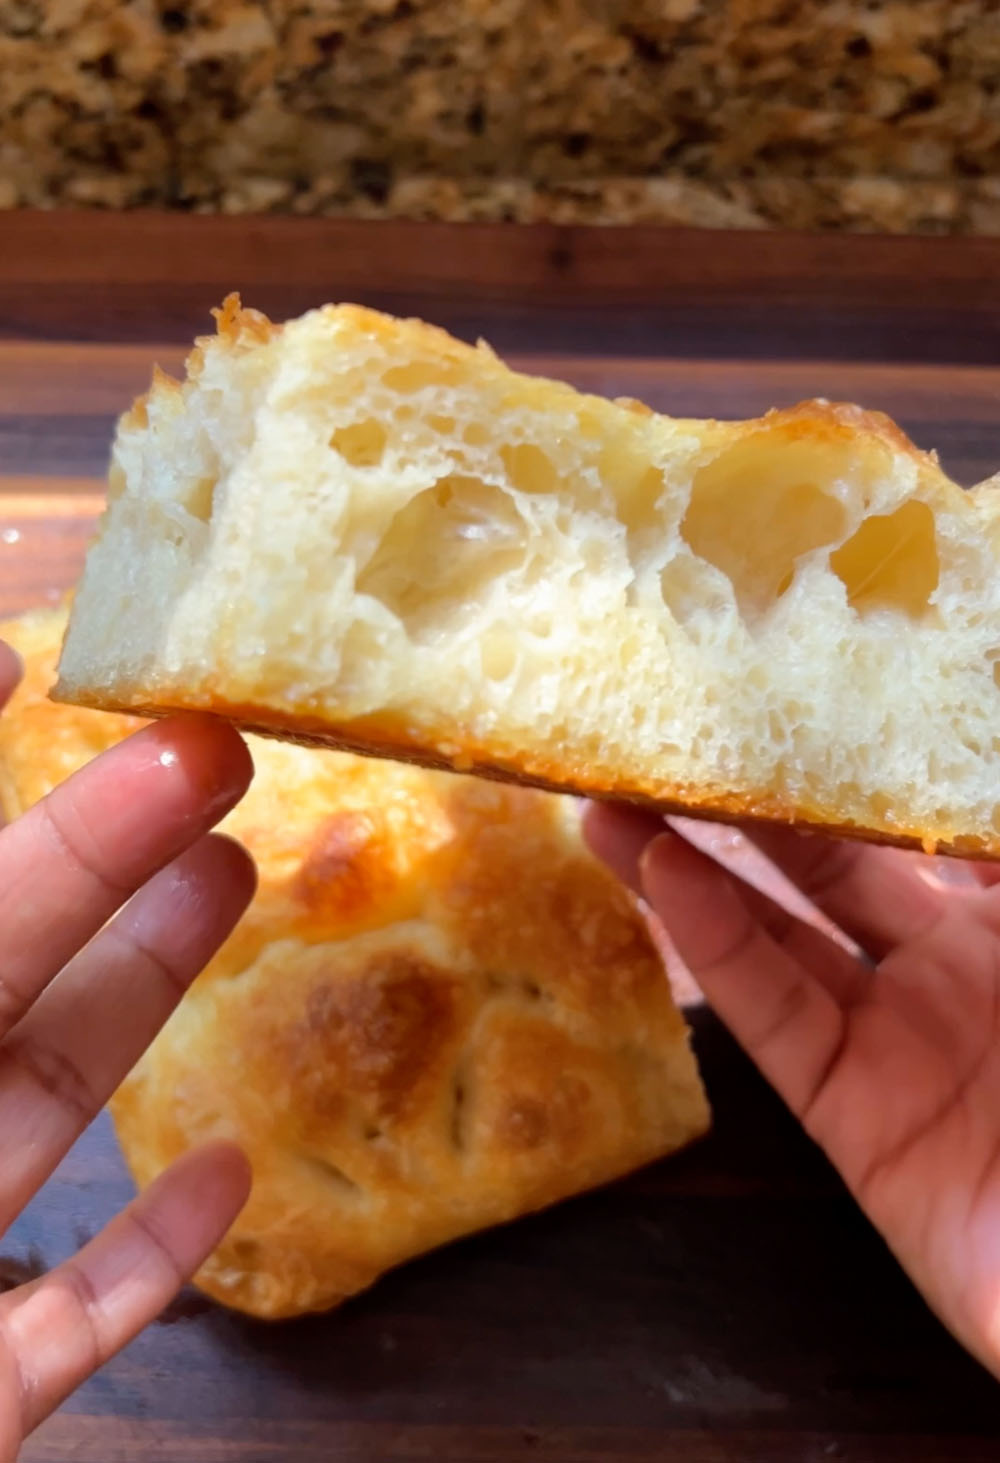
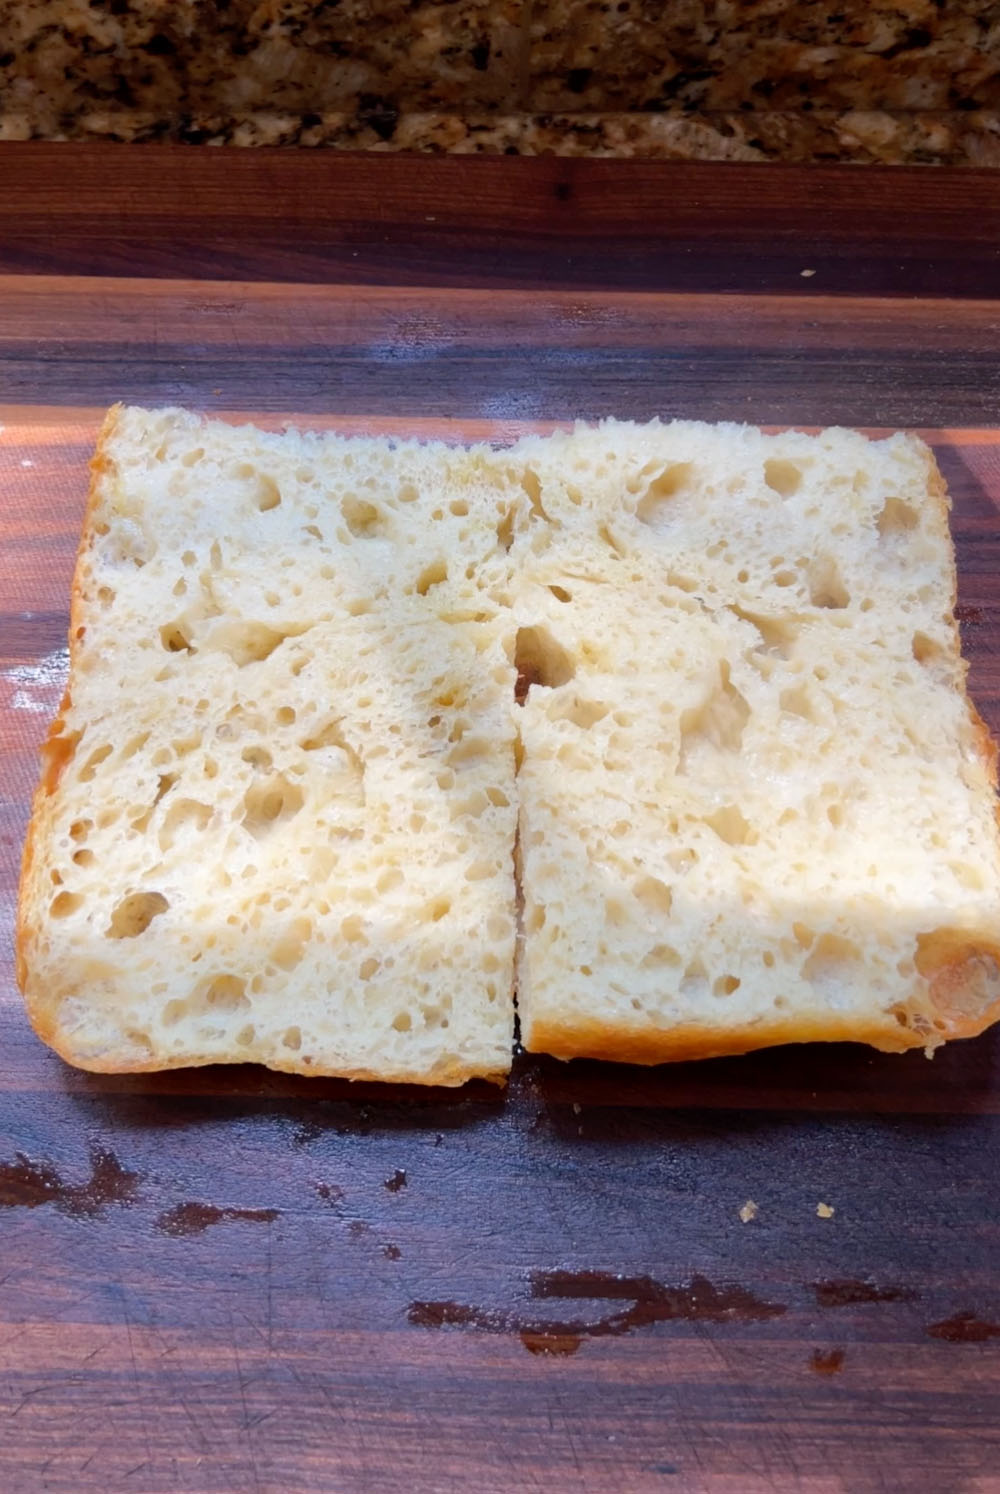
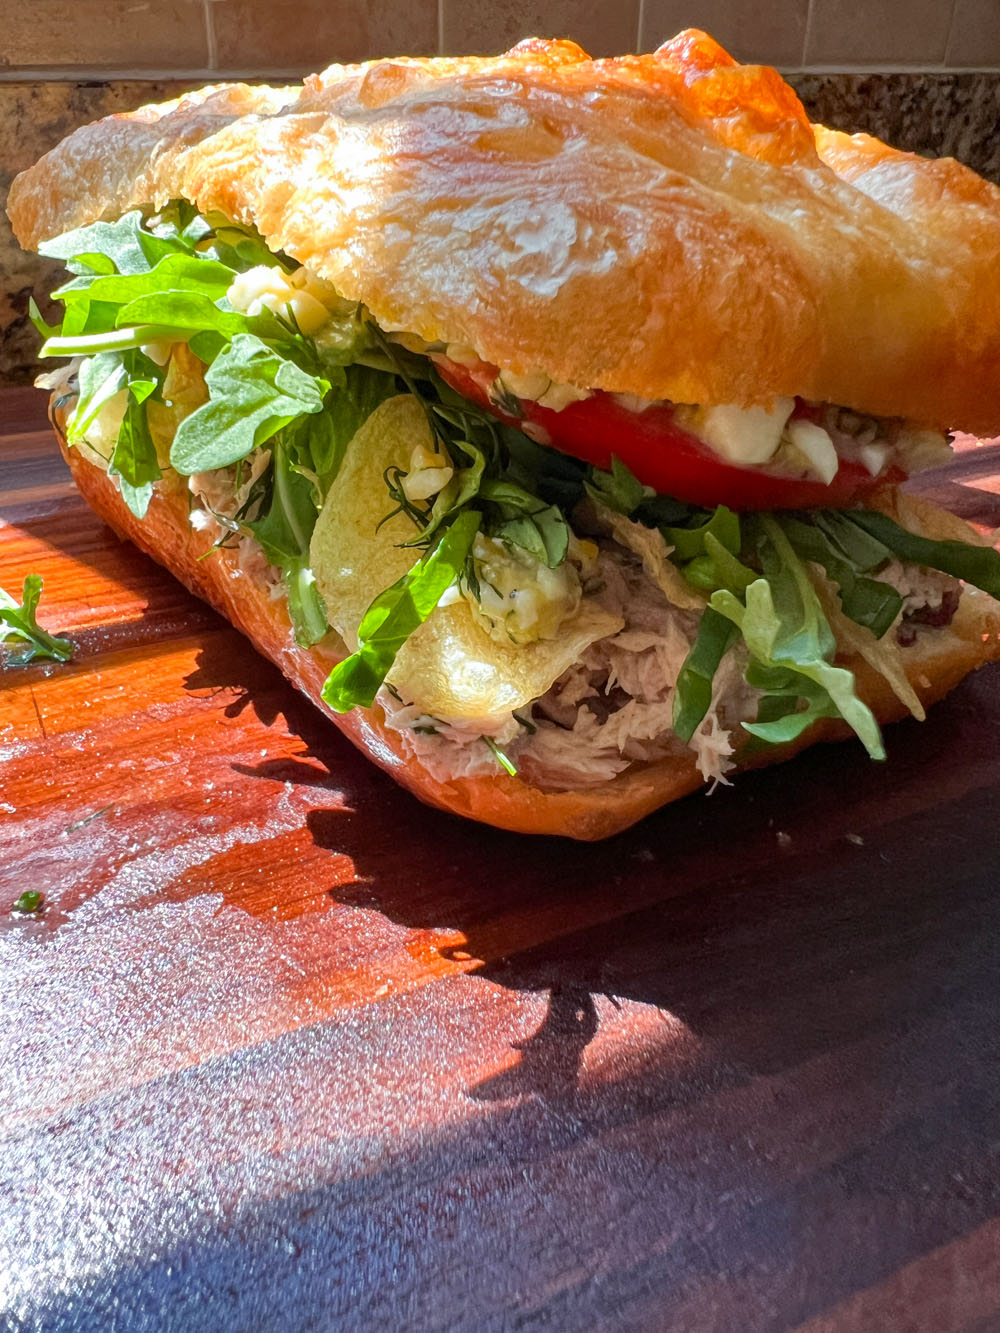
How to store 3-hour focaccia
I’d be shocked if this bread lasted more than 2 days in your household. Even if you live alone lol. To store it, just portion it and place it into a large freezer bag or airtight container. Make sure absolutely no air can get to it and dry it out. It’s a very moist bread, so it will last about 2-3 days at room temperature.
You can also store it (securely wrapped) in the fridge for up to 5 days. For longer store, portion it however you like, then wrap it firmly in plastic wrap. Tuck each wrapped piece into a freezer bag. It will stay fresh and frozen for up to 2 months. I make this bread a LOT, and you’ll see different variations of it in my freezer already portioned for a quick fix.
Print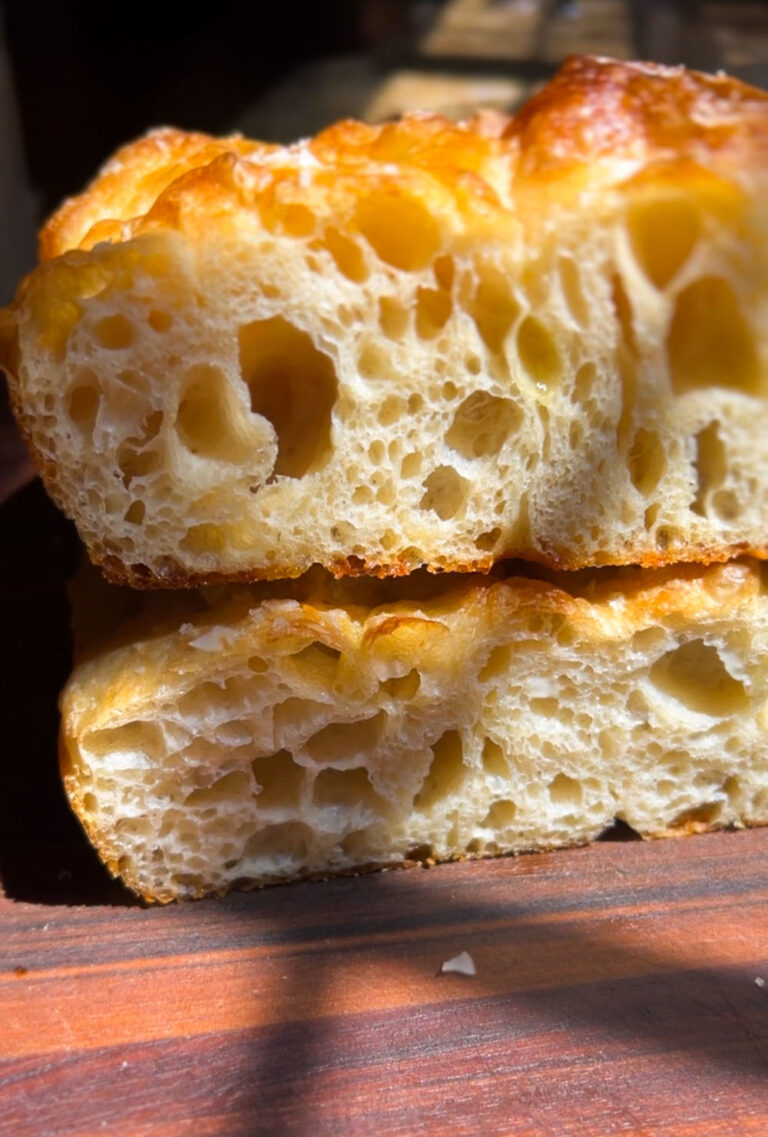
Homemade 3-hour Focaccia
The easiest, fastest recipe for soft, squishy big-bubbly focaccia in just under 3 hours. Perfect for snacking, sandwiches, dipping, and more. This will become your staple!
- Total Time: 2 hours 45 minutes
- Yield: 4 to 8 servings 1x
Ingredients
3-hour focaccia
- 500 grams King Arthur Bread Flour
- 12 grams instant-yeast
- 455 grams semi-warm water (90-110 degrees F)
- 20 grams honey
- 30 grams olive oil
- 14 grams fine salt (sea salt or table salt work fine)
- *Lots of extra olive oil for dough handling and baking
Equipment needed
- 9×13 baking sheet, include parchment paper if your baking sheet is prone to sticking
- Kitchen scale for accuracy
- Dough whisk or regular whisk to combine dry ingredients
- Rubber spatula
- Large bowl at least 3 1/2 quarts
- Wire rack for cooling
- Flexible spatula
Instructions
- Turn the light on in your oven so the ambient warmth can help create the perfect proofing spot for the dough.
- Combine bread flour and yeast in a large bowl using a dough whisk or regular whisk. This dough rises almost 3x its size, so make sure your bowl can contain at least 3 1/2 quarts.
- In a large measuring cup or medium-sized bowl, mix together the semi-warm water, honey, and olive oil until the honey is completely dissolved. The oil will rise to that top and that’s fine.
- Pour the water mixture into the flour mixture and use a dough whisk or large spoon to combine until the dough is about 80% combined. Then, add the salt and continue to mix everything together until no dry pockets of flour remain and it’s 100% combined. Visually, the dough will look a wet, sticky, shaggy mess, and it’s supposed to. Cover the bowl with plastic wrap and place it into your turned-off oven with just the oven light on to rest for 30 minutes.
- After 30 min, you’ll see that the dough has nearly doubled in size. Remove the plastic wrap. Pour about 2 tablespoons of olive oil all over the dough, and a little more in your hands. Even though the dough is in a bowl, imagine four “corners” of the dough. Gently lift and fold one corner of the dough up (careful not to tear it) onto itself, and repeat with each remaining corner. Repeat once more, for a total of 8 folds (please watch video for reference). Add about one tablespoon of olive oil, then over plastic wrap and let it proof for a full hour in your turned-off oven.
- Meanwhile pour about 1/4 cup of olive oil in the bottom of your 9-x13 baking dish, making sure the oil reaches every corner. Set aside. If you’re using a baking dish that is prone to sticking, line it with parchment paper before adding the oil.
- After an hour remove the dough from the turned-off oven, and preheat the oven to 450 degrees F, with the lower-middle rack in place.
- Remove the plastic and pour about 2 more tablespoons of olive oil to the dough. Use a rubber spatula to help push the dough down from the sides of the bowl. Apply about a tablespoon of olive oil to your hands. Gently lift the dough from the middle, pulling it up GENTLY to stretch it slightly, then fold it onto itself. This is how we knead it. This helps create gluten and structure. Do this four times. Then lift the dough from the bowl so that it pours over both sides of your hands just a little, and slap it back into the bowl. Repeat this about 8 times. The dough will get stronger and appear as a more sturdy but still soft ball. Please see video for reference if you’re unsure.
- Transfer the dough to the oiled baking dish, and flip it around so it’s oiled on both sides. Cover tightly with plastic wrap and a tea towel (for extra warmth) and let it rest/proof for a final 35 minutes while your oven gets nice and hot.
- After the final rest, remove the plastic wrap. The dough should have risen and expanded to fill the base of the baking dish. If you want to add any toppings at this point, now is the time.
- Drizzle a generous amount (about 3 tablespoons) of olive oil to the surface of the dough and use your oiled fingers to dimple the dough. You aren’t trying to aggressively tear holes in the bottom of the dough, but you should be firm enough to let your fingertips touch the bottom of the pan. See video for reference as to how much oil should be visible on the surface of the dough.
- Spray with a light mist of water, or use your fingers to sprinkle the water onto the dough. Bake the focaccia on the lower-middle rack of your super hot 450° F oven for 15-20 minutes. It should be golden brown.
- Remove the focaccia from the oven and allow it to cool in the pan for 5 minutes. This helps the focaccia re-absorb any oil (as much as it can). Using a flexible spatula, transfer the focaccia to a wire rack to cool for at least a half hour. The top of the focaccia will go from crusty to soft as it cools. The end result is a squishy soft bread with a crusty “fried” bottom.
- Cut, serve, and enjoy!
- Prep Time: 2 hours 25 minutes
- Cook Time: 20 minutes
- Category: breads
- Method: baking


I made it like thousand times, each time everyone gets impressed with how delicious it is.. just follow the recipe and it will always be perfect..