
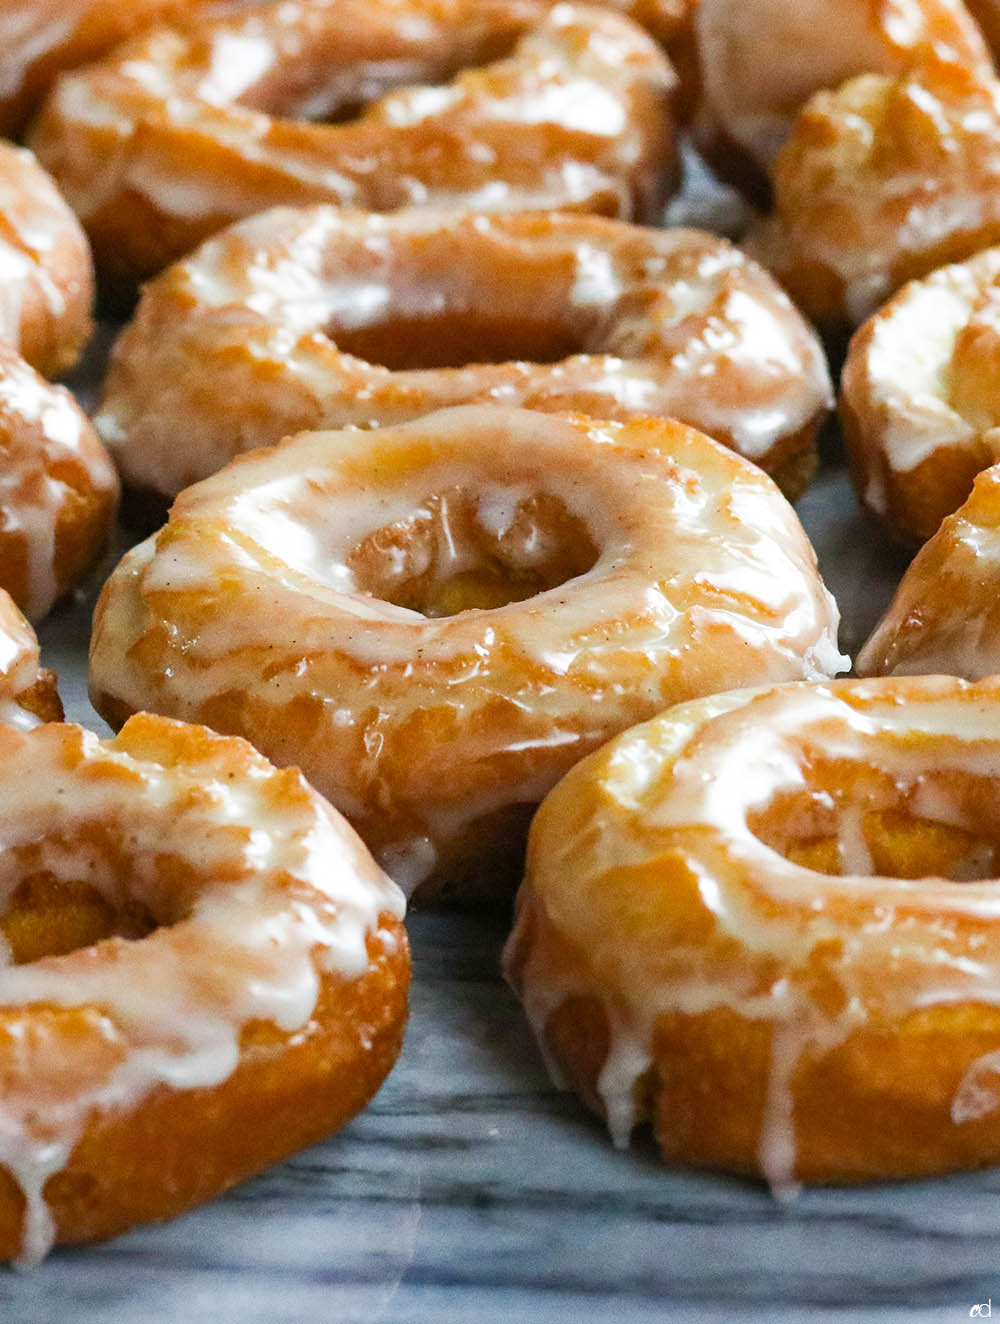
Old fashioned sour cream donuts are one of my favorite things in the entire world. I grew up on these, and I liiiived for them. That cakey texture smothered in a thin coat of glaze really sends me. Maybe it’s a familiarity thing, but they’re truly a favorite. What I love about this particular recipe is how easy it is to throw together, and because the dough keeps in the fridge for up to a week, you can fry a couple fresh donuts every day during that time. Uhh, yes please.
The sour cream keeps them moist and perfect, and you can glaze these any kind of way. I kept it simple with a vanilla bean situation. But in the past, I’ve made chocolate glazed and maple glazed — all bomb. I got this recipe from ChefSteps, and you need to know this now, I trust them completely with my culinary life. Cooking smarter is all I’m trying to do, so I always run to them for stuff like this because they know their sh*t.
If you don’t have a kitchen scale by now, what are you even doing with your life? Seriously. Please purchase one ASAPTUALLY! Recipes like this one require precision, and you don’t want to risk ruining it because you “guessed” the ingredients.
How to make Old-Fashioned Sour Cream Donuts
A few tips…make sure you figure out a way to keep your fry oil at 340 degrees. This is why having a candy thermometer is great, and an electric deep fryer is even better because you don’t even have to worry about it. The only downside to a deep fryer is that it will probably require way more oil than you need for this recipe. So choose your battle.
Make sure you use a stopwatch (there’s a feature on your iPhone for this) so that you accurately time each side the donuts should fry. Reason being, you don’t want too much oil to absorb into the dough. So follow the recipe exactly. Pastry flour is best for this recipe, but if you can’t find it, use all-purpose flour. If you have all-purpose flour and cake flour, you can google how to make homemade pastry flour.
The gang’s all here.
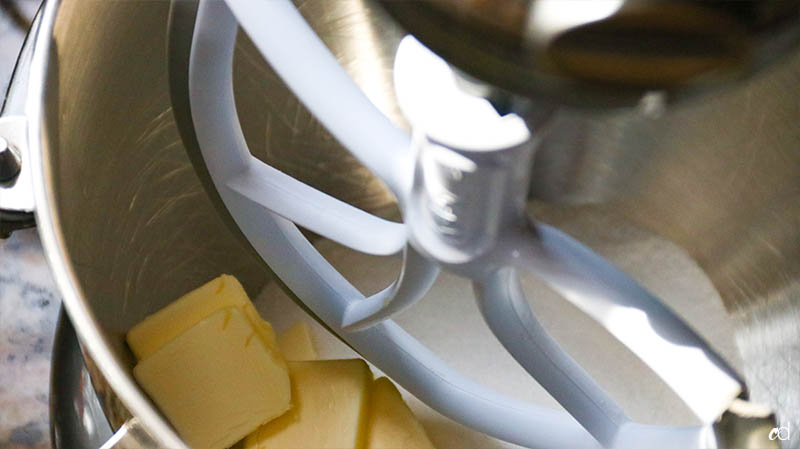
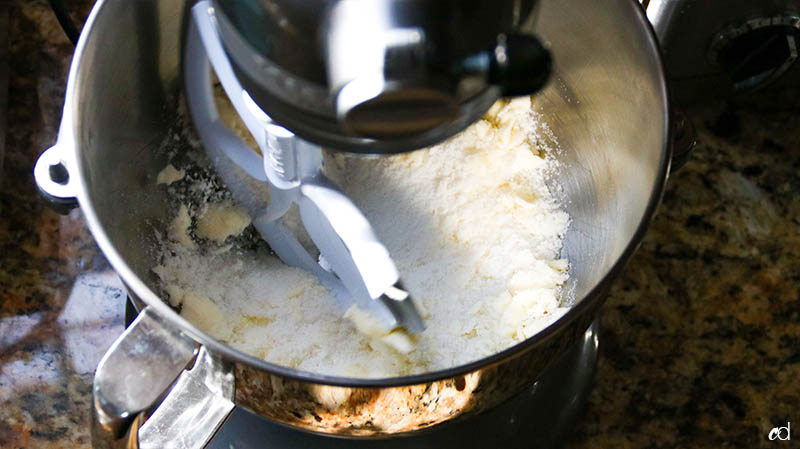
It’ll look like this. Your butter should be softened to room temperature. Mine was still a little firm, so it’s a bit more crumbly and that’s fine. You’ll see later it will incorporate nicely.
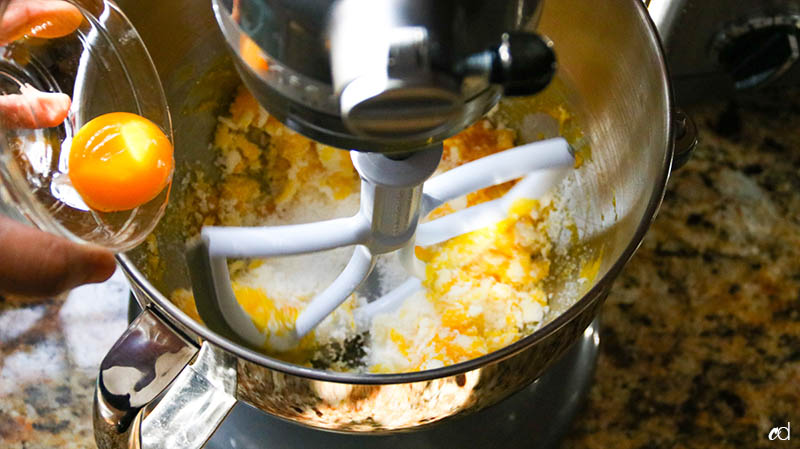
Add the egg yolks, you can add them in all at once.
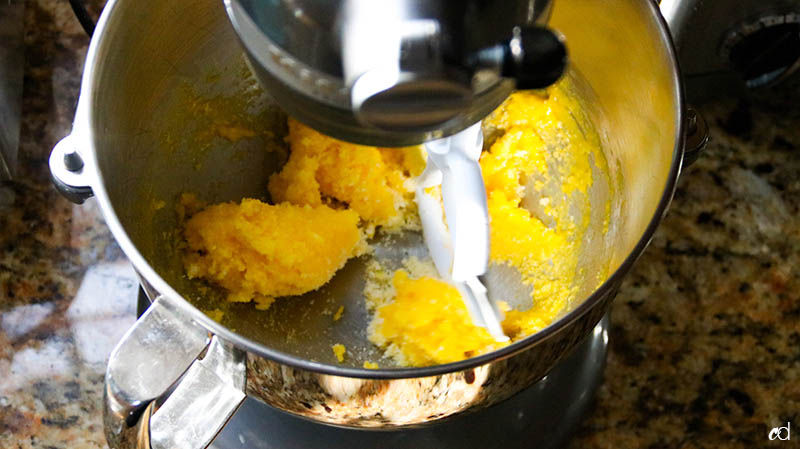
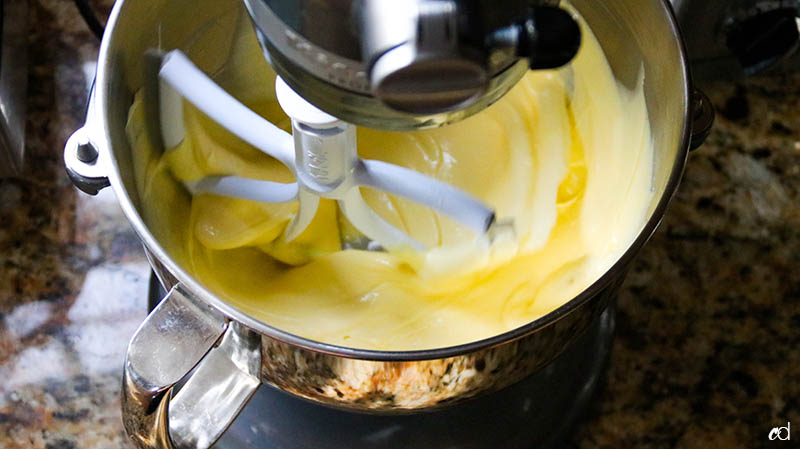
Continue to cream this…
Until it looks like this.
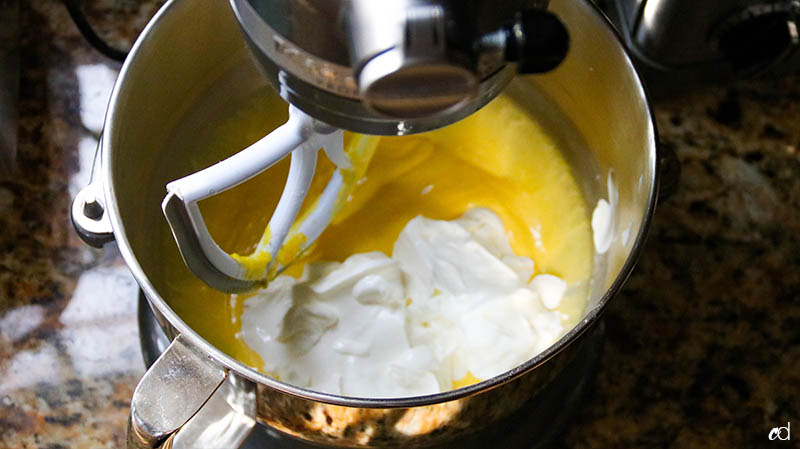
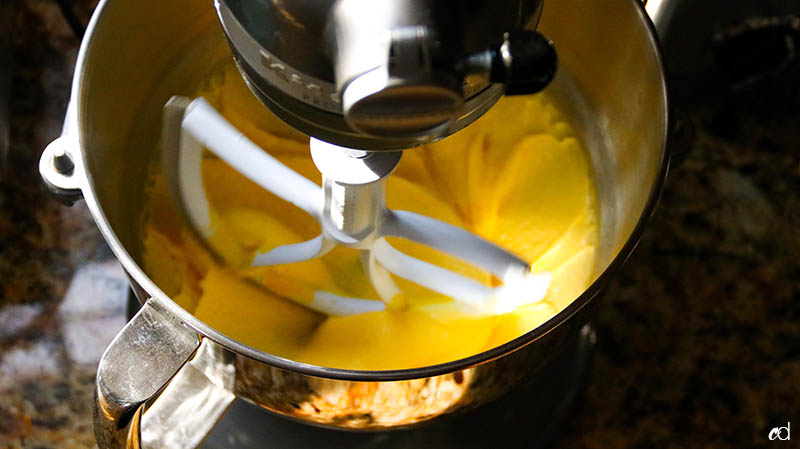
Throw in the sour cream.
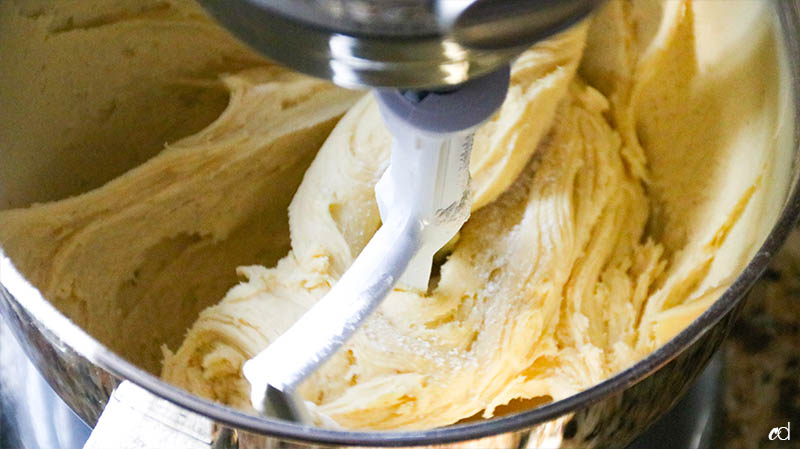
Mix mix mix until combined and smooth.
Use a rubber spatula to scrape down the sides of the bowl, even the bottom to make sure no clumps of sour cream aren’t mixed.
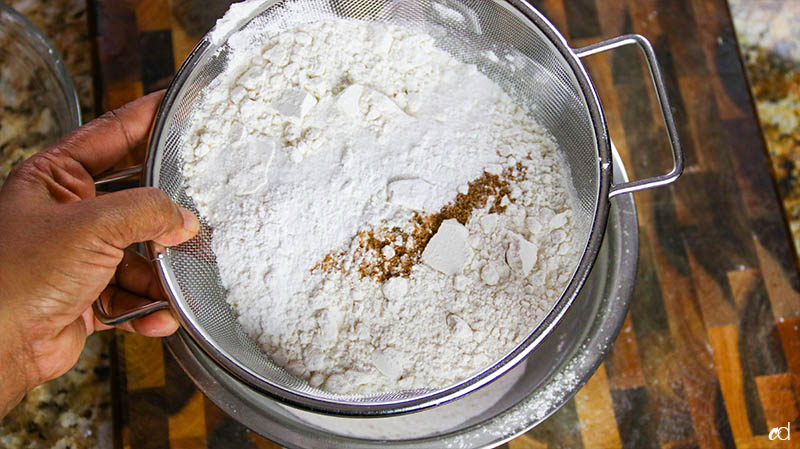
Sift the dry ingredients together.
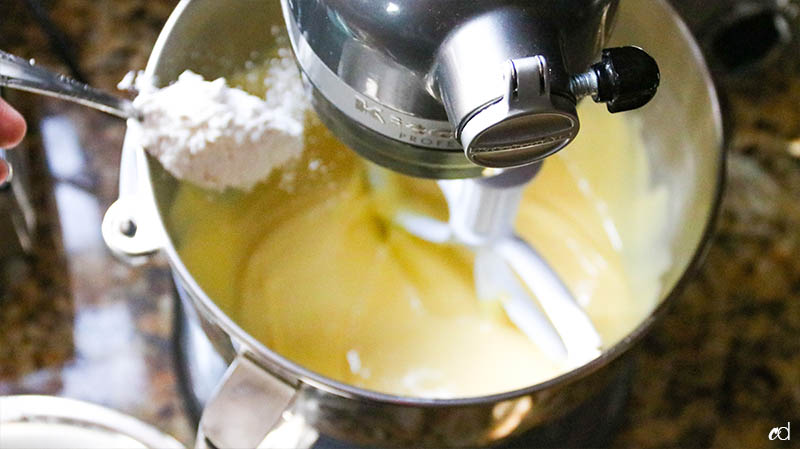
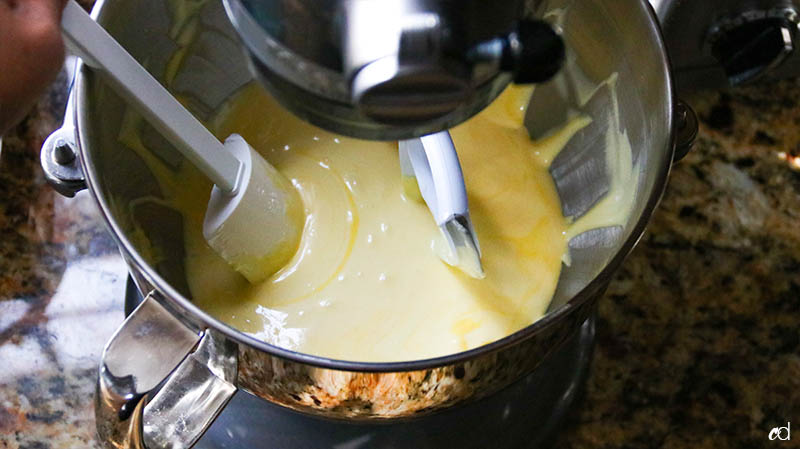
And spoon the dry mixture into the wet mixture. You don’t have to wait in between spoonfuls to proceed, just get it in there one spoon at a time to prevent it from flying all over the place (and you)!
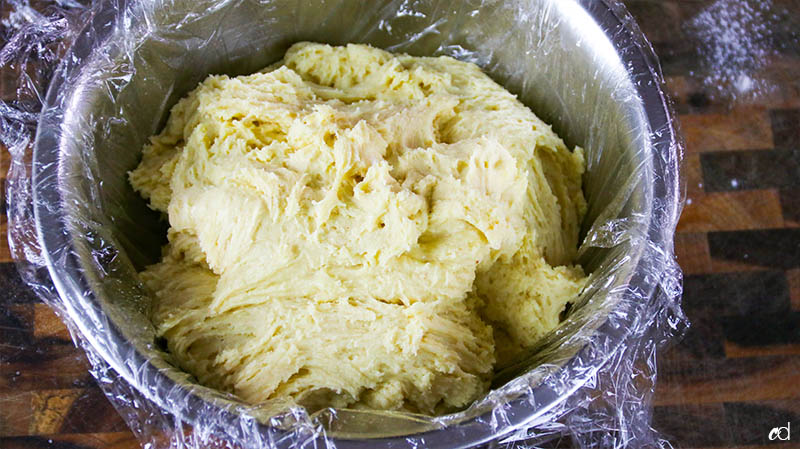
Grab a medium sized bowl, and line it with a large piece of plastic wrap. Spray the inside of the plastic wrap with non-stick baking spray, then plop the dough in the center.
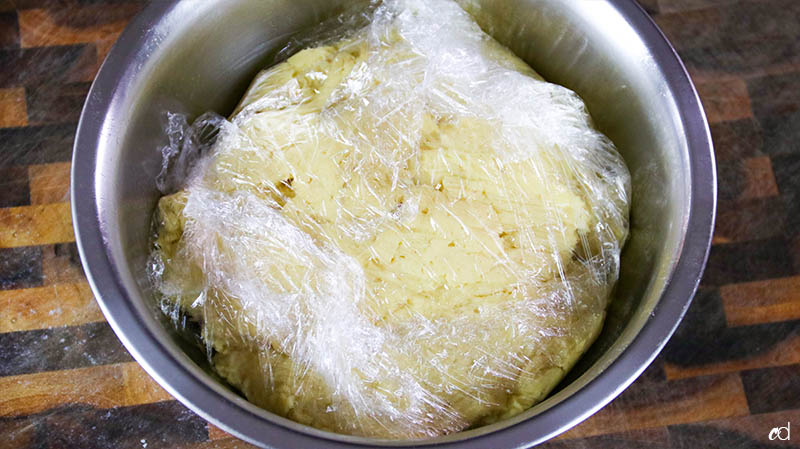
Wrap it up tightly and pop it in the fridge for at least an hour to firm up a bit. AT THIS POINT: you can keep this dough in your fridge for up to a week. Which is great if you want to fry a few fresh donuts every day.

When ready to fry, lightly dust your work space with a little flour and place the dough in the center.
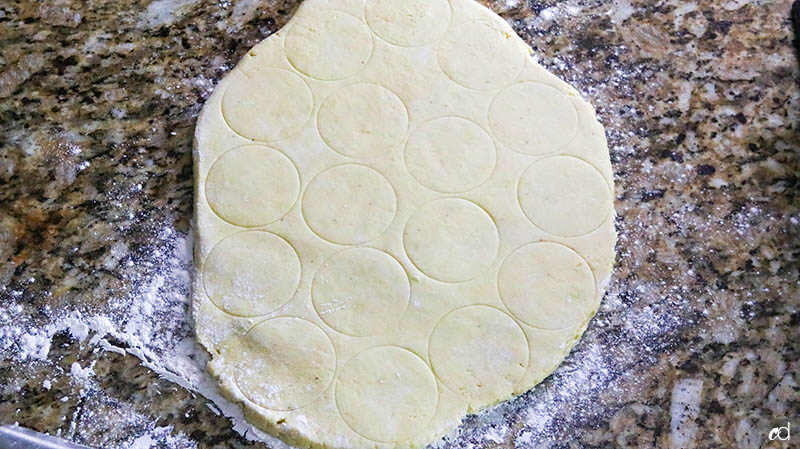
Roll the dough to a 1/2-inch thickness, then lightly press your cutter into the dough to trace where to cut and maximize space.
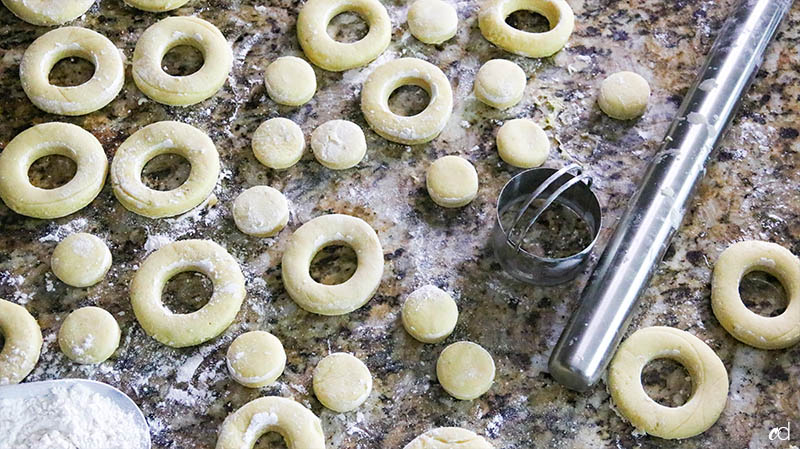
Then cut them out. Take a smaller cutter and cut a hole out of the center of each donut. Put the cut donuts and holes on a baking sheet sprayed down with non-stick spray to prevent sticking, and place in the fridge for 30 minutes. Take this time to make your glaze.
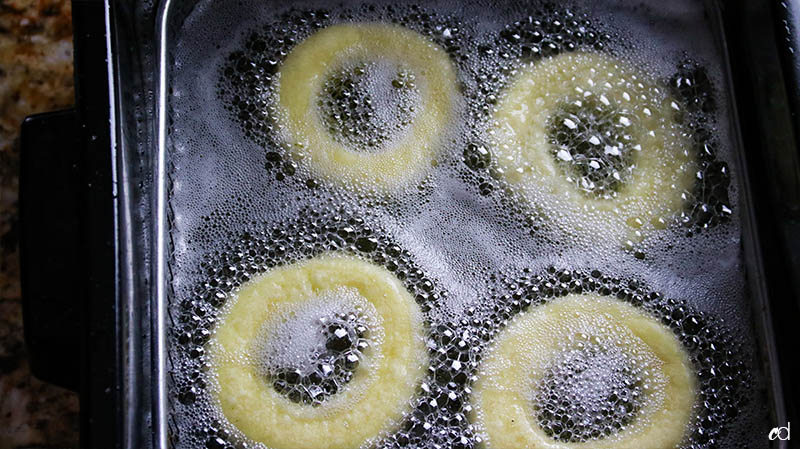
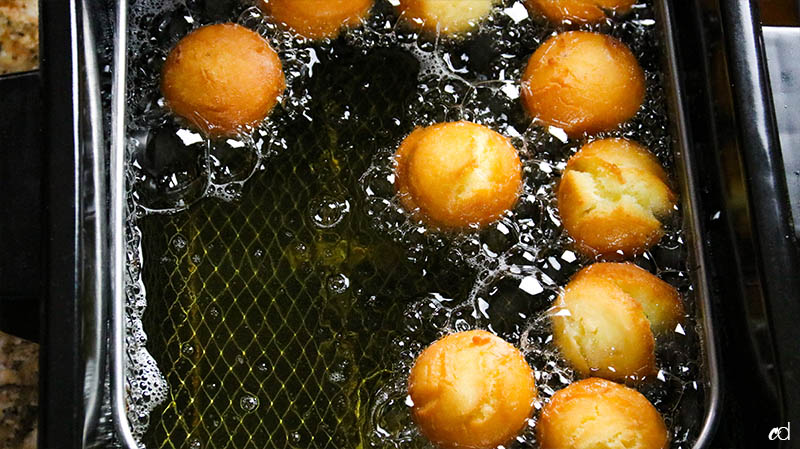
Heat oil to 340 degrees, and fry 3-4 donuts at a time. They will sink to the bottom, but once they float up, fry them for 40 seconds — then flip with a spider strainer and fry the other side for 80 seconds — then flip once more and fry 80 more seconds.
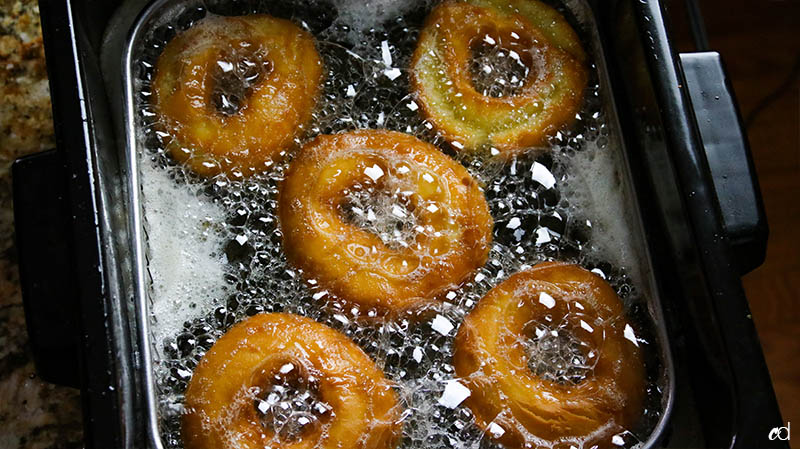
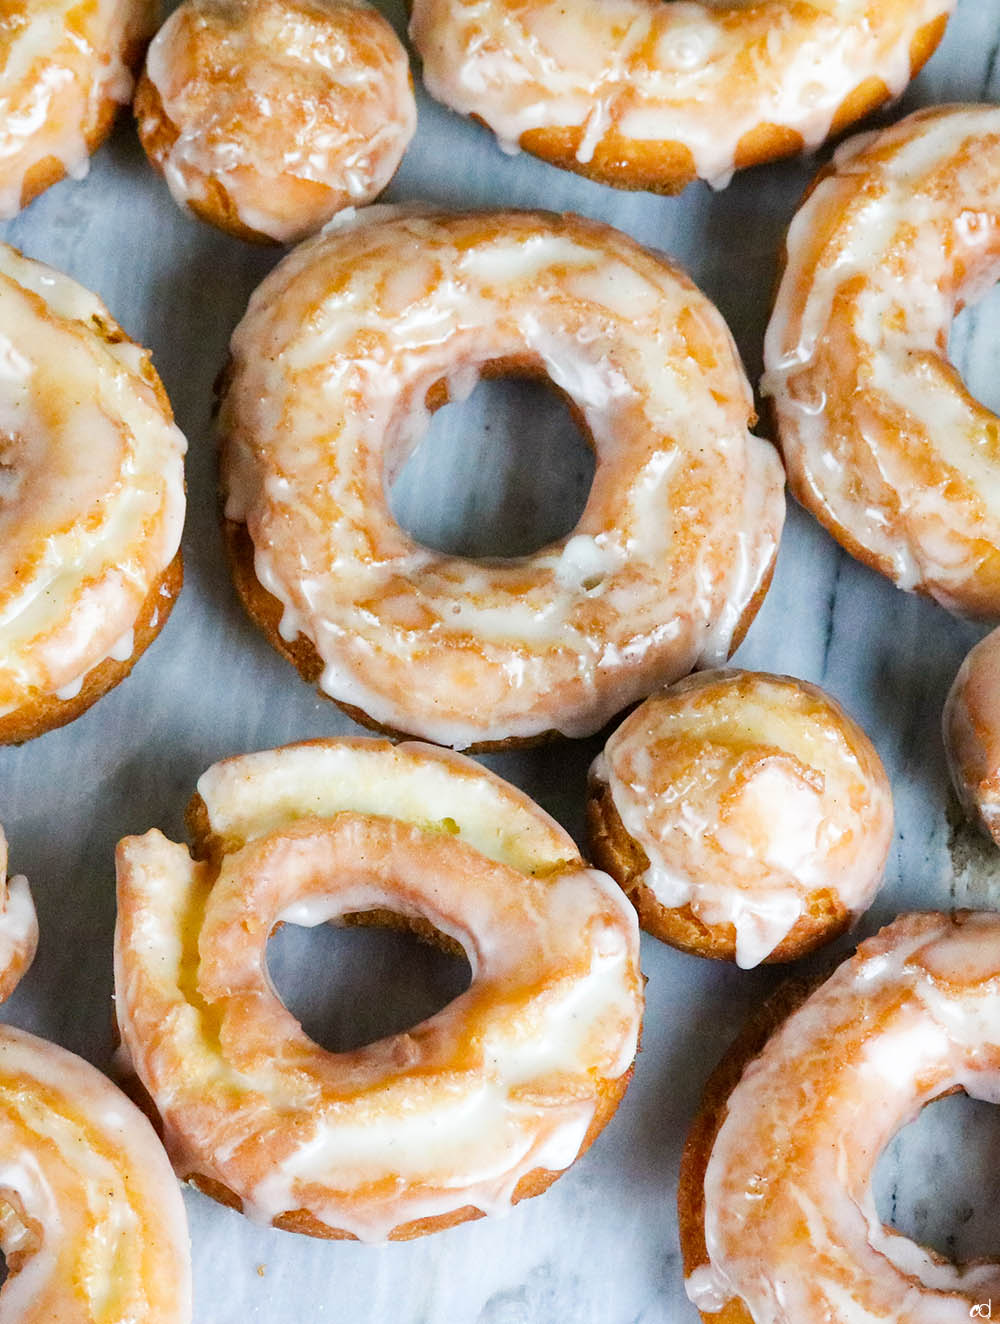
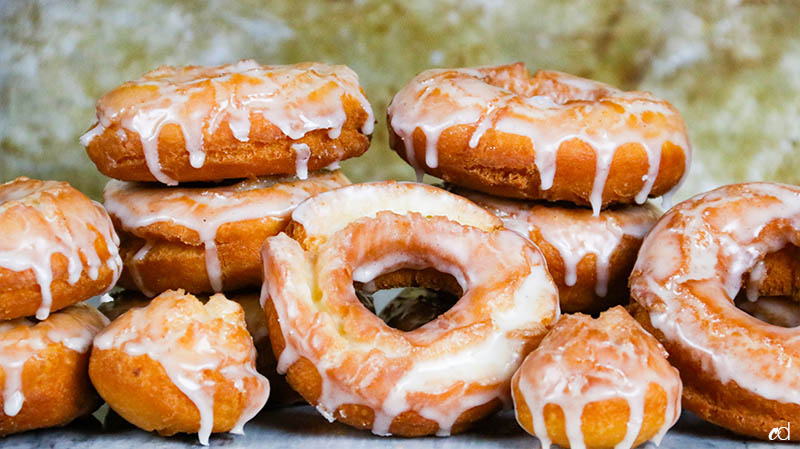
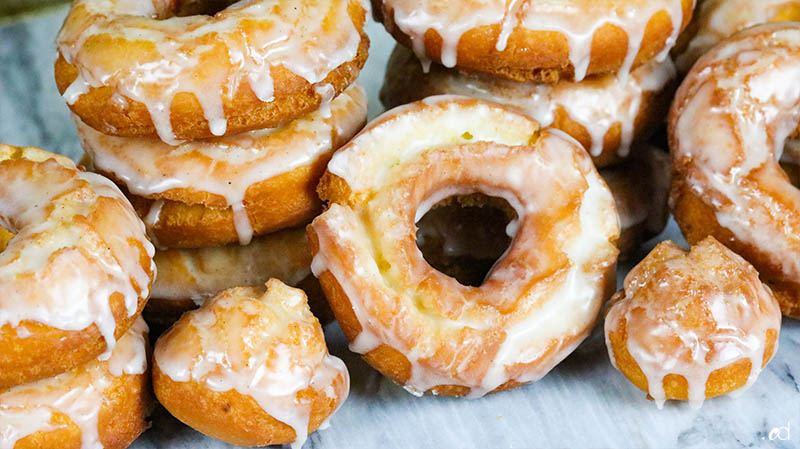
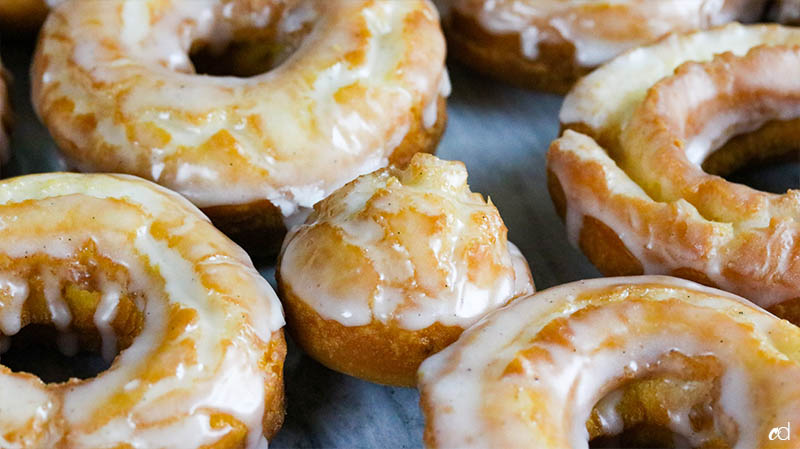
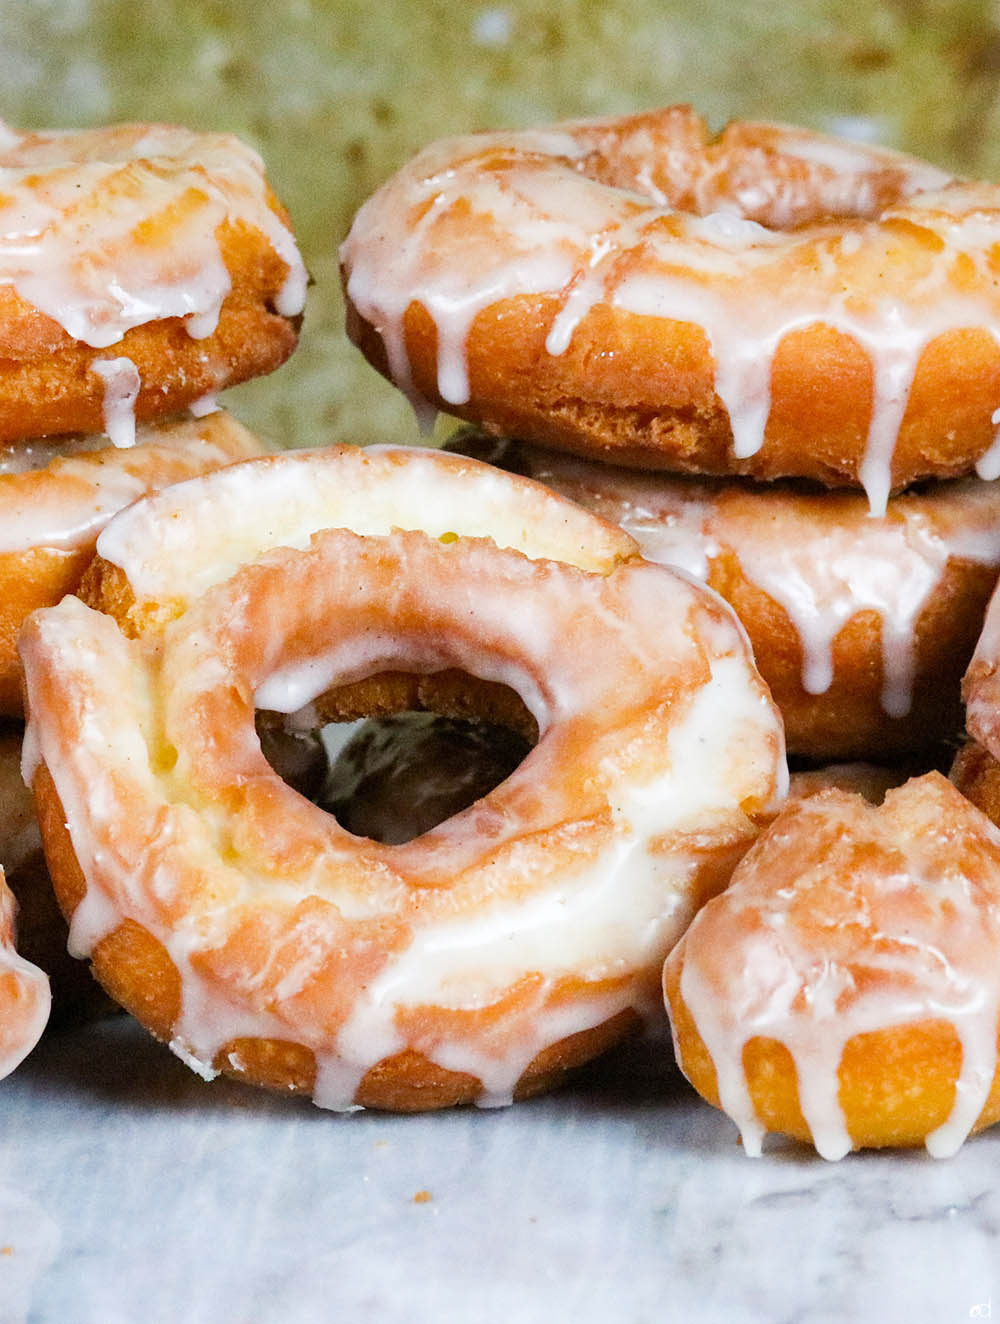
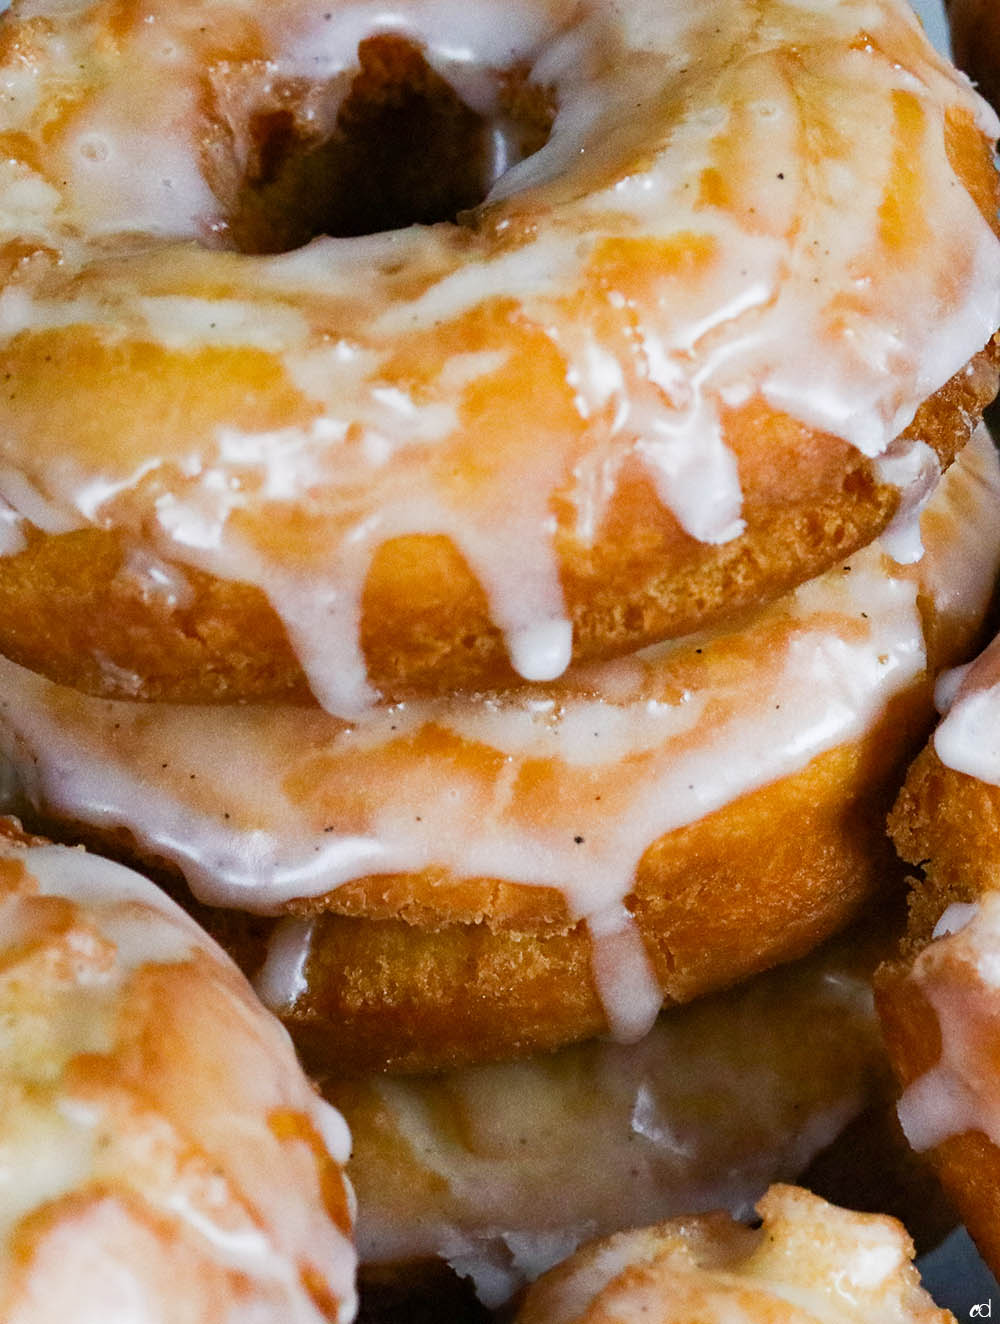
Don’t forget the holes. Let them cool 15 minutes, then dip them into the glaze, or spoon it over. Let the glaze set 10 minutes, then eat!
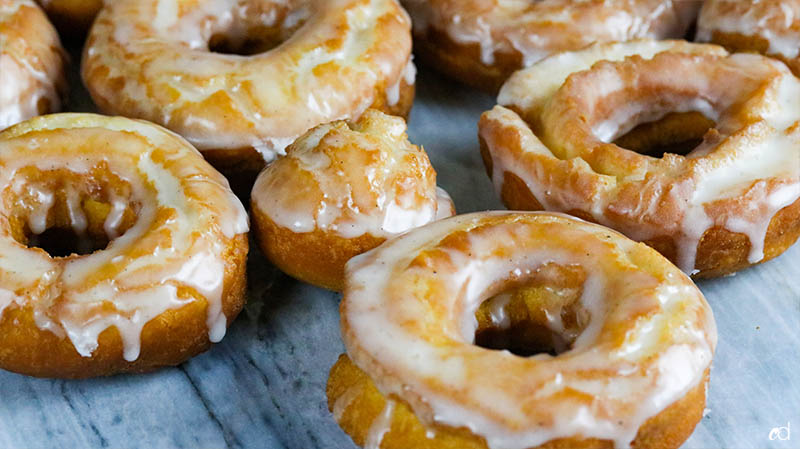
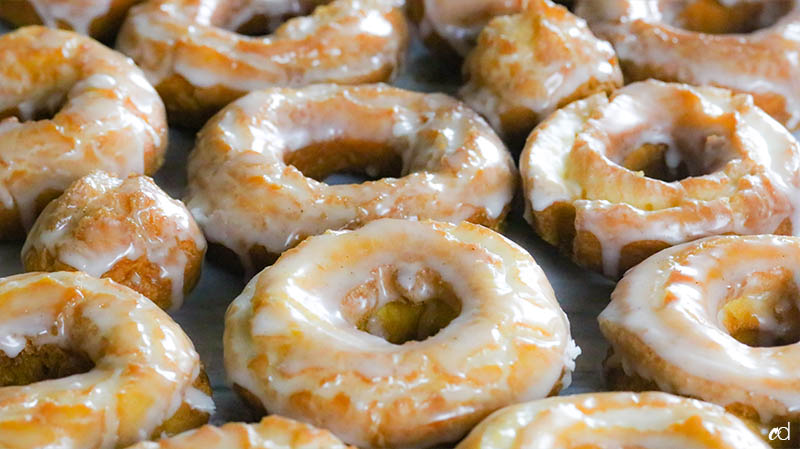
Grab some coffee. Enjoy!
You’re gonna love these. Make them with your kids, but keep them away from the hot oil (of course). They’ll feel so great helping you make something so delicious. You can make this dough the day before Christmas, and fry Santa some fresh donuts the very next morning. Happy holidays!
More sweets:
Print
Old Fashioned Sour Cream Donuts
- Total Time: 2 hours 20 minutes
- Yield: 14-16 donuts/holes
Description
Old fashioned sour cream donuts, way better than what you remembered as a kid. Adapted from ChefSteps. Check them out for other glaze variations.
Ingredients
For the donuts
- 600 g pastry flour (or all purpose)
- 15 grams baking powder
- 12 grams kosher salt
- 1 grams freshly ground nutmeg, optional
- 240 grams granulated sugar
- 36 grams softened unsalted butter
- 90 grams egg yolks, beaten (from about 5-6 large eggs)
- 380 grams sour cream
- Nonstick spray
- Canola or vegetable oil for frying
For the glaze
- 400 grams confectioners’ sugar
- 100 grams whole milk
- Vanilla beans from 1 pod, optional
- 2 grams pure vanilla extract
- 4 grams fine sea salt
Instructions
- Line a medium mixing bowl with plastic wrap sprayed with nonstick spray. Set aside.
- In the bowl of a stand mixer, combine the sugar, yolks and butter with the paddle attachment. Set the mixture to high and mix until the color of the mixture lightens and the volume increases, this will take about 2 minutes. Stop the mixer, add the sour cream, then mix on medium until smooth — about 2 more minutes.
- Sift the dry ingredients into a separate bowl and stir them together. With the stand mixer set to low, add the dry ingredients into the wet ingredients, one large spoonful at a time. Be careful with this step, you don’t want the dry mixture fo fly all over you, so stop the mixer in between spoonfuls if you have to.
- Transfer the dough to the bowl lined with plastic wrap. Spray nonstick spray on the top of the dough and cover it, placing the ends of the plastic wrap directly on the dough. Refrigerate it for 60 minutes. At this point, you can keep the dough in the fridge for up to a week!
- When ready to fry, prep a baking sheet with parchment, and coat it with nonstick spray. Set aside.
- Lightly dust your work surface with flour. Transfer the dough on top of the dusted surface. Work quickly to keep it cool, lightly dust the top of the dough mound with flour and roll it out to about a half-inch thick. You can add a little more flour as needed.
- Brush any excess flour from the surface of the dough. Trace circles into the dough by gently marking it with a 3-inch round cutter, this helps maximize your space. Cut out the donuts, dipping the bottoms of the cutter in flour before every cut to prevent sticking. After all of the donuts are cut out, grab a 1 1/4-inch cutter and cut holes out of each donut, again dipping the cutter into flour before every cut.
- Place the cut out donuts and hols to the parchment lined baking sheet, making sure to brush off any excess flour. Cover the donuts with plastic wrap, making sure the plastic doesn’t come in contact with them. Pop it in the fridge for 30 minutes.
- Make the glaze while you wait. Mix the confectioners’ sugar, milk, salt, vanilla extract, and vanilla beans (if using) until smooth. Set aside.
- In a large pot over medium heat, bring at least 3 inches of fry oil to 340 degrees F (170 degrees C). Use a thermometer to monitor and maintain the temperature. You can also use a deep fryer if you want an accurate and steady temperature.
- Grab a stopwatch! When the oil is heated, fry one to 2 donuts at a time. They will sink at first, but as soon as they rise to the surface, cook it for 40 seconds. Flip the donuts over using a spider strainer or slotted spoon, and cook for 80 seconds. Flip one last time and cook for another 80 seconds. Transfer the donuts to a baking sheet lined with a baking rack or a paper towel lined plate. Continue to fry the donuts, and when you get to the holes, just fry them until golden brown all over. No need to time that part, you’ll know when they’re done visually. Cool the donuts and holes for 15 minutes before glazing. Serve and enjoy!
- Prep Time: 2 hours
- Cook Time: 20 minutes
- Category: desserts
- Cuisine: American
Keywords: sour cream donuts, donuts, old fashioned donuts, sweets, desserts

I made these today with 1 of my grand dsughters. The only complaint I have – is that I didn’t make a big enough batch.
My other grand daughter told me they were heavenly❤
My daughter took 1 to my ex and he said they were delicious and he doesn’t like sweets!
My son’s and grandsons loved them also!
I will he making these again very soon — except it will he a double batch!
Very hummy?. I love pastry. I’m still a beginner though but I will always try. Thank you for this recipe. Appreciated